Tuesday, October 30, 2018

A Time For Tea Fall Leaves


Happy Tuesday.  Hope your week is going good so far. Today I'm here to share with you some inspiration using A Time For Tea's digital images. 

For my card today I used an image called "Fall Leaves".


I colored my image using Copics.
Copics used : skin - E11, E00, E000, R20
hair - E35, YR24, YR21, YR20
Blue-greens - BG18, BG15, BG13, BG11

The sentiment is from The Project Bin's New Leaf stamp set.


I used a  die to cut out my colored image and for the mat behind it.
I added some pearls.


A closer peek at my colored image :


Sunday, October 28, 2018

Country Church


Hello, fellow paper crafters!  It's Dawn with you today with my next post for Dies R Us.  

Today I have a quick and easy card to share with you.


Assemble all the dies you are going to use and cut the pieces out using the card stock of your choice.  I chose to use red and white.


I cut a circle out of red card stock to use as the backing for my church scene.

I attached the white outer frame to the red circle and then proceeded to assemble my scene using the cut out pieces.


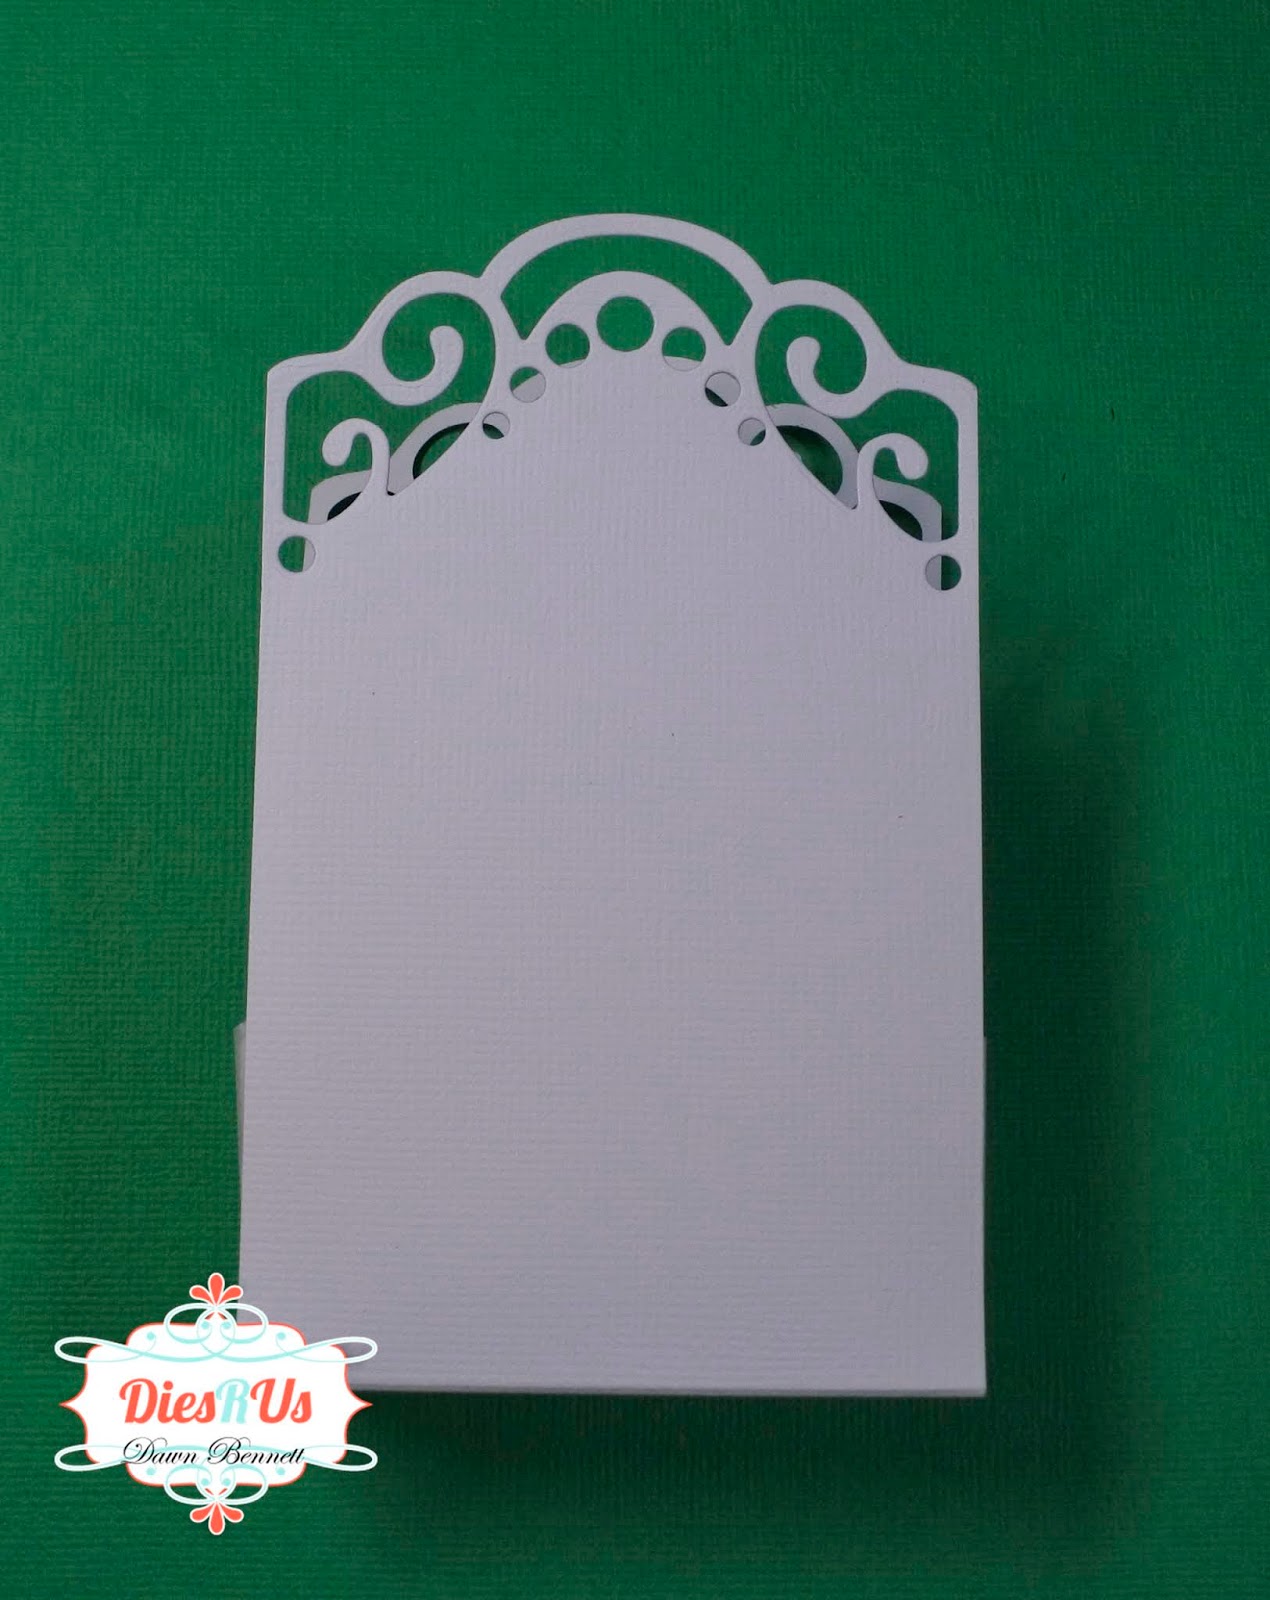
Once the scene was done, I cut a piece of  white card stock to 4 1/2 x 9 to use as my card base.  I scored that at 4 1/2 and folded on score line.

I then attached the red outer frame to the card base.


I added some 3d dots to the back of my completed scene circle and attached that to the center of my card base frame.


I then decided the roof of the house needed something, so I added a little bit of Stickles Star Dust ( this color isn't available in the store, but check out the colors that are).


Supplies found in the Dies R Us Store:


Thermoweb - 3D Foam Squares Combo Pack - White .25


Don't forget to come join in the fun at the Dies R Us Challenge Blog. There's a new challenge theme offered on the 1st and 15th of each month and one lucky randomly drawn winner will receive a gift voucher prize to the Dies R Us Store. For your convenience, all the important Dies R Us links are provided below.

We hope to see you again tomorrow!


Entered into the following challenges:
Crafter's Castle Monthly Challenge #10

Friday, October 26, 2018

The Project BIn's New Leaf

The Project Bin is a stamp company that makes snappy Sentiments.  I was able to use the "New Leaf"  stamp set to create my project. 


Card recipe:
Cardstock: white CS, Bo Bunny Dreams of Autumn collection paper pack
buttons
ribbon

A closer peek at the  sentiment:


Check out The Project Bin Blog for some more inspiration using "The Project Bin" sentiments....


Wednesday, October 24, 2018

Digi Doodles Ghostly Trio

Hello all my friends!!!! I'm excited to be here today, on this fabulous Wednesday,  to show you a creation using Digi Doodle Studios images.  For my card today, I have used the beautiful "Ghostly Trio" digital image.


Card Recipe:
Copic markers : V12, BG000, YR16, YR14, YR12, Y15, C00
ribbon


A closer Peek at my colored image  and sentiment:


Check out "Digi Doodle Studios Blog" for more inspiration using "Digi Doodle Studios images.....

Check out our Facebook Page "Digi Doodle Studios" to share your creations, find all the challenge info/new release info, join in with the fun and to see all the inspirational projects from the DT.

We have a NEW Challenge Blog, The challenge for October is "Pink or Halloween"......


Tuesday, October 23, 2018

A Time For Tea Witchy Flight


Happy Tuesday.  Hope your week is going good so far. Today I'm here to share with you some inspiration using A Time For Tea's digital images. 

For my card today I used an image called "Witchy Flight".


I colored my image using Copics.
Copics used : skin - E11, E00, E000, R20
hair - C5, C3, C1, V12
Purples - V17, V15, V12
browns - E25
other colors - YR04, YG25


I used a  die to cut out my colored image and for the mat behind it.
I added  a bow.


A closer peek at my colored image and sentiment :


Saturday, October 20, 2018

Sheepski Designs Ready For Christmas


I'm excited to show you my creation for Sheepski Designs.  This is another post using one of their wonderful images called "Ready For Christmas". 


Items Used:
Copics:  C7, C5, C3, C1, R37, R35, R32
Winter Classics by Jeanine's Art paper pack cardstock
Gina Marie Designs Dies

A closer peek at my colored image:


Check out our Facebook page for some more inspiration using Sheepski Design images.


Friday, October 19, 2018

LeAnn's World 101 Kate

I'm here on this fabulous Friday with my post for LeAnn's World 101

I was able to use the wonderful "Kate" image from LeAnn's World 101 etsy store today on my card. 


I printed out the image and colored it in using copics (see below).  I used a die to cut out the colored image and for the mat behind it. I layered some green and black  CS onto my card base of 5x7.  I attached my image on the front of my card.  I used a border die to cut out the 2 scalloped pieces.  I attached those to my card front.  I then added some ribbon. I added some pearls to finish off my card.


A closer peek at my colored image : 


Copics used - Skin - E11, E00, E000, R20
hair - E25, E23, E21
Purples - V17, V15, V12
greens - YG25, YG67, YG63, G20
orange - YR08, YR07, YR04, YR02
blacks - C9, C7, C5, C3

Check out LeAnn's World 101 Facebook group for more inspiration. 

Thank You for stopping by today.


The Project Bin's Eat Pie


The Project Bin is a stamp company that makes snappy Sentiments.  I was able to use the "Eat Pie"  stamp set to create my project. 


Card recipe:
Cardstock: white CS, Bo Bunny Dreams of Autumn collection paper pack
Pearls

A closer peek at the pumpkins and the sentiment:


Check out The Project Bin Blog for some more inspiration using "The Project Bin" sentiments....


Christmas Treat Box

Hello, fellow paper crafters!  It's Dawn with you today with my first post for Dies R Us.  I'm super excited to be on this wonderful team and to be sharing with you!

Today I have a little treat box to share with you.


Here is a photo of all the pieces that I used in my project today:


I started out by cutting a strip of cardstock to 12 x 3 1/4. Score at 5 1/4 and at 6 3/4.  I then used the dies from Elizabeth Crafts Designs Tags & More 1 - Lace (this die isn't available in the store, but you can easily use one of the other Tags & More die sets).  I layed the tag top die on one end of the strip. I ran it through my cutting machine.  I then repeated with the other end.   


I then laid the overlay on the cut end and ran that through my cutting machine. I repeated with the other end. Fold on score lines.


I then cut 2 pieces of cardstock to 2 x 1 3/4. Score the one side of the 2" side 1/4 " on one side. turn to the 1 3/4" side and score two side 1/4".  Fold on the scored lines. Apply 1/4 tape to the right side of the scored sections.

To create the treat box, peel the tape off the 2" side and align that side up to the space between the folded 12 x 3 1/4 strip.  Repeat with the other side.  


Peel the tape backing off the other sides and align those up and stick together.  Repeat with the other end.  This will create a box. 


Decorate as you wish. I decided to make a christmas treat box using Creative Expressions Cut and Lift Poinsettias and Impression Obsession Merry Christmas dies.


Tie the box closed with a piece of ribbon. 


Supplies found in the Dies R Us Store:

Elizabeth Craft Designs - Tags & More 5 - Sunburst


Don't forget to come join in the fun at the Dies R Us Challenge Blog. There's a new challenge theme offered on the 1st and 15th of each month and one lucky randomly drawn winner will receive a gift voucher prize to the Dies R Us Store. For your convenience, all the important Dies R Us links are provided below.
We hope to see you again tomorrow!