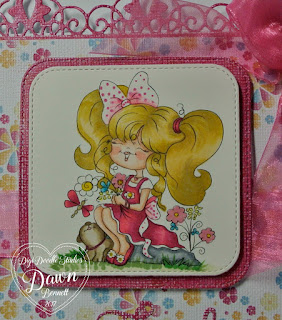
Here are the step by step instruction on how I made my card.
step 1 - print out the digital image onto the cardstock of your choice. I used cryogen cardstock.
step 2 - I am using Copic markers to color my image. You can start by coloring in the nose and feet using YR18, YR16, YR14
step 3 - Then I color the penguin using some grey markers, C9, C7, C5
Step 4 - Then I color the dress and hat using RV19, RV17, RV14.
Step 5 - Using BG07, BG05, BG02 I color in the band on the hat
Step 6 - Next I color the swing using E27, E25, E23, E21
Step 7 - Using a die I cut out my colored image and using a slightly larger die, cut out the mat for behind the image.
Step 8 - Assemble all pieces for the card and lay them out like you want them. The pieces that I used are as follows: card base 6x6, pink CS 5 7/8 x 5 7/8, 2 strips ( I used double sided CS) 2 x 5, 2 white CS 2 1/4 x 5 1/4. Adhere all pieces to card base.
Step 9 - Attach all pieces to the card base, adhere some pearls to the corners, a sentiment and a bow....
Sorry for a few blurry pictures, but my camera isn't working properly.....
I hope this will give you some inspiration to try and make this card. Don't forget to check out the
Whimsy stamps blog for lots more inspiration using
Whimsy stamps.....
Happy crafting!!!!


