I'm here today to share a card I made using a stamp set from Sweet Sentiments. Sweet Sentiments is the sponsor at Crafting Of Hue this week (December 14 - 20).
I used the stamp set called " Man Plans":
I'm here today to share a card I made using a stamp set from Sweet Sentiments. Sweet Sentiments is the sponsor at Crafting Of Hue this week (December 14 - 20).
I used the stamp set called " Man Plans":
We have a new Challenge at Scrapping4funChallenges.
Friday has arrived! And so has a new Outlawz Festive Friday's Challenge. Here is my DT card using an image by Fred She Said, our sponsor this month. Our themes this challenge are Christmas, Flowers, Pets, Birthday and Anything Goes!
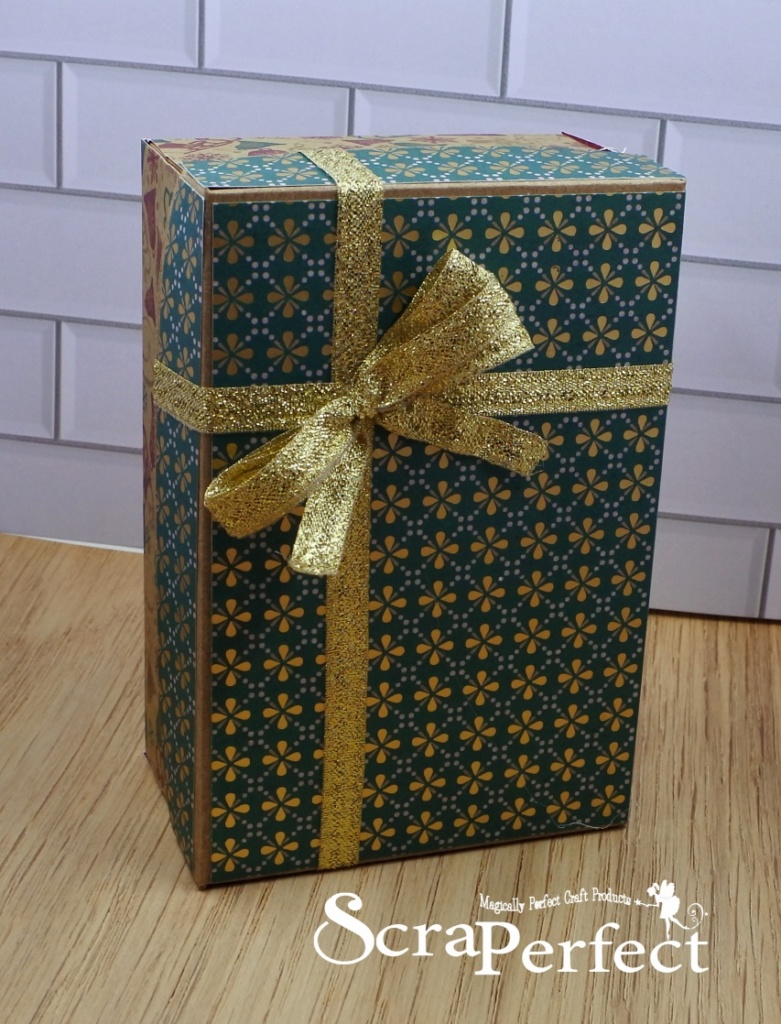
Hello fellow crafters!! I'm here with you today, to share a Drop Down Gift Box and Gift Card Holder! I love working with the Best Glue Ever and the No Clog Writing cap. If you haven't tried them, you are missing out on some awesome products.
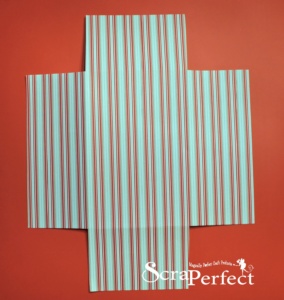
You start off with a piece of card stock 9 3/8" x 11 1/2". On the long side score at 2 5/8 and 8 7/8. On the short side score at 2 5/8" and 6 3/4". Cut the 4 corners off. Fold on the score lines. This will create the base.
For the boxes, you will need 3 pieces of 6 1/2" x 8" card stock. You will score at 2" on all 4 sides. Put the boxes together using some of the Best Glue Ever and the No Clog Writing cap.
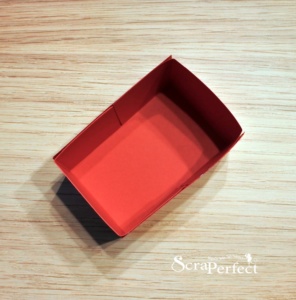
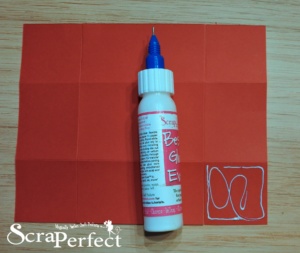
For the lid you will need a piece of card stock 6 1/4" x 8 1/4". You will score at 1" on all 4 sides. Put the lid together using some of the Best Glue Ever and the No Clog Writing cap.
For the box lids, you will be using acetate. You will need 3 pieces at 8" x 6 1/2" and you will score at 2" on all sides. Cut off the 4 corners of each piece and fold on the score lines. These will go on each of the boxes to hold in the treats you put in each box.
You will need a piece of card stock, 4 1/2" square for the gift card envelope. To create the envelope, I used my Martha Stewart score board.
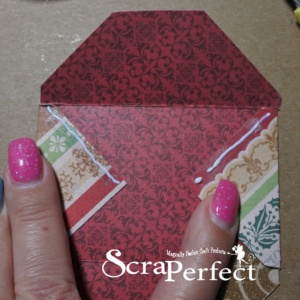
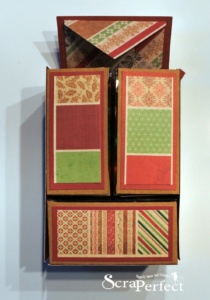
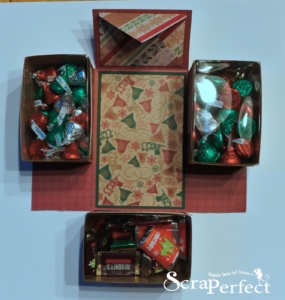
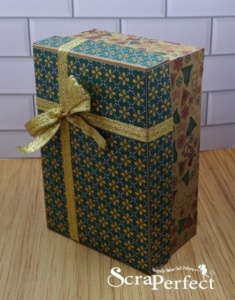
Then all you need to do is assemble the exploding box using the Best Glue Ever and the No Clog Writing cap. Once all together, you can use coordinating card stock to decorate the box itself. Fill the little inside boxes with treats and add a gift card to the mini envelope.
Hello, my friends!
It's time for a new challenge at the Star Stampz Challenge blog!
The Challenge runs once a month.
The winner will receive a prize of three images,
and there's also a Top 3 chosen.
Head over to the blog to see all the rules.
The challenge this month is and easy one:
Anything Goes
I made a card featuring the lovely
Cup of Cocoa,
which you can find HERE.
It's time for another challenge with us at the Crafty Gals Corner
This week we are letting out creative Juices flow with Challenge #214 - Tis The Season
Crafty Gals Corner Challenges are monthly.
Each crafter may only submit 3 projects per challenge
Our Sponsors for this challenge are:
Prize: 3 Digital Stamps
We have a new Challenge at Scrapping4funChallenges.
KLM Digital Designs has some really adorable images and if you haven't checked them out you really should. They have both digital images and Photopolymer stamps.
For my card today, I layered some green card stock onto my card base. I then layered some snowflake designer card stock on top of the green.
I then assembled my card.
Thanks for stopping by,
Friday has arrived! And so has a new Outlawz Festive Friday's Challenge. Here is my DT card using an image by Hetty Clare, our sponsor this month. Our themes this challenge are Happy New Year, Teen Birthday, anything goes and Christmas!
I'm here today to share a card I made using a digi stamp set from Rachelle Anne Miller creative Studios who is the sponsor at Crafting Of Hue this weekend (November 21-22).
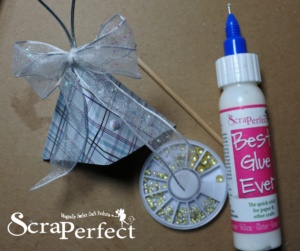
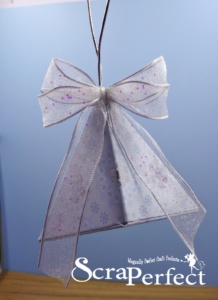
Hello fellow crafters!! I'm here with you today, to share a Diamond Shaped Ornament! I love working with the Best Glue Ever and the No Clog Writing cap. If you haven't tried them, you are missing out on some awesome products.
To start off, you need a piece of cardstock cut to 3 1/2 x 8 card stock. You will score on the short side at 1/2" and 3". Then turn the card stock to the long side and score at 1/2" , 3", 5 1/2 ".
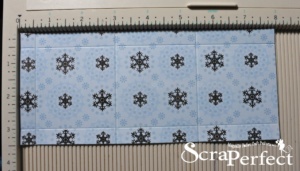
Cut away the strips as shown in the photo.
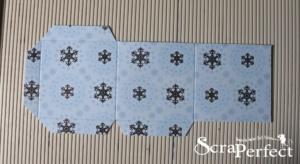
Making sure that the long side of the cardstock with the two glue tabs is on the left. You will line up the top corner so that you can score from that corner to the bottom right corner of the first square. Next you will turn the card stock and score a diagonal line in the middle square starting from the top right to the bottom left corner. Then you will score the last square from top left corner to bottom right corner. See photo.
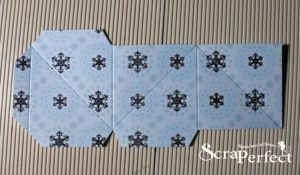
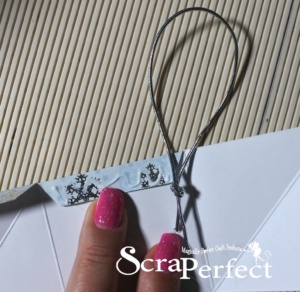
Fold all score lines. Put some ribbon for your hanger in the corner next to the 2 glue tabs. Put Best Glue Ever and the No Clog Writing cap on the one glue tab and fold and stick in place to the side that has no glue tabs. Put some Best Glue Ever and the No Clog Writing cap on the remaining tabs and fold into stick in place to the other sides with no tabs. This will form your ornament.
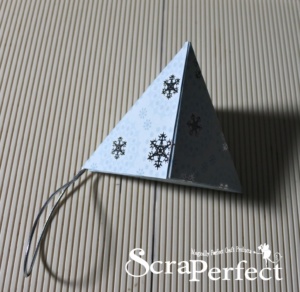
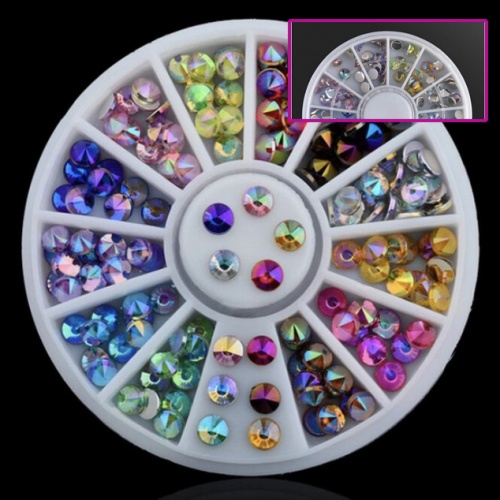
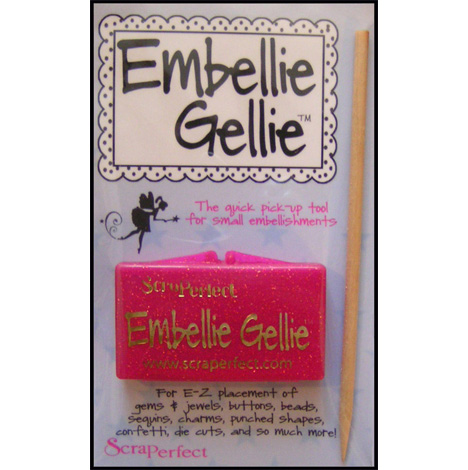
Embellish as you please. I used some of the Opal Drops Wheels of Embellies and the Embellie Gellie on one of my ornaments.
