Showing posts with label copic coloring tutorial. Show all posts

Sunday, February 23, 2014

Copic Coloring With Little Blue Button Stamps

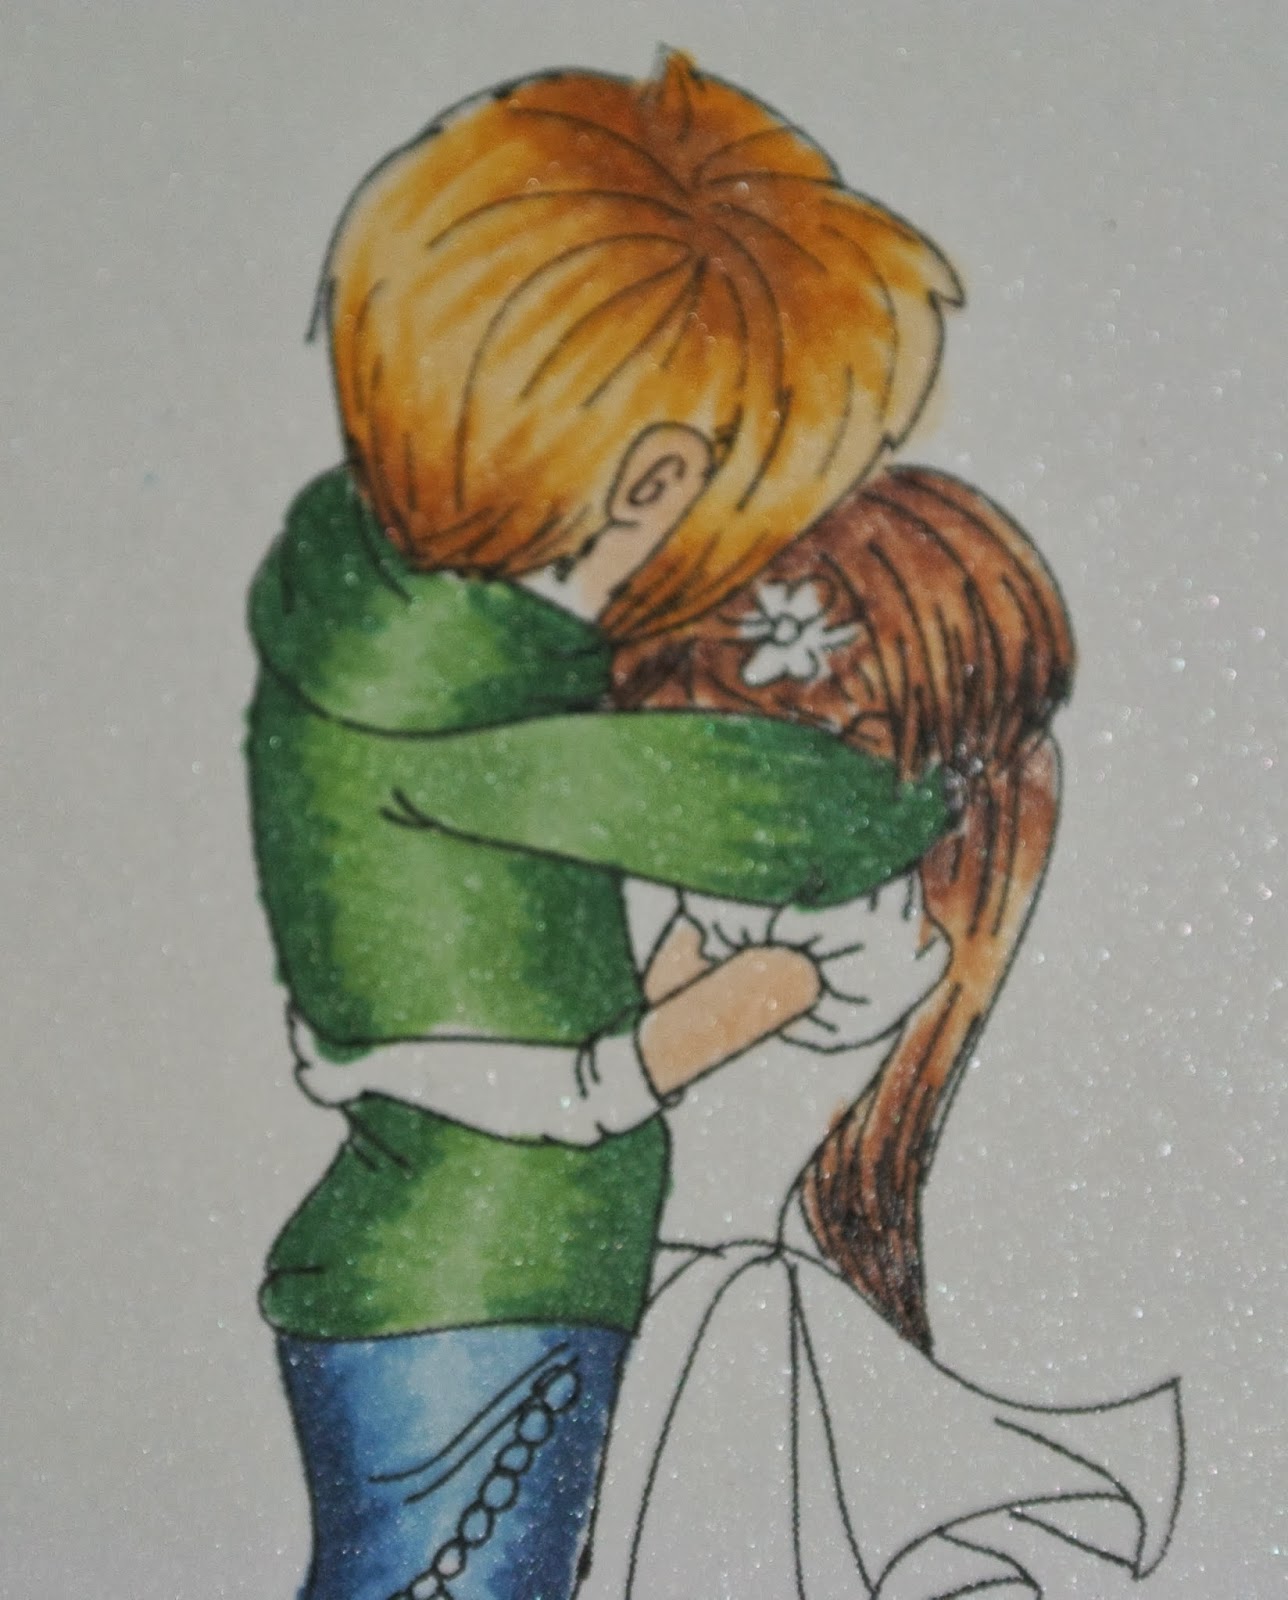
HI Everyone!!! Dawn here to show  you the steps I took to color the image Everyone Needs A Hug using Copics.  I color from dark to light and use a flicking technique.


Step 1 color the skin with E00, color the boys hair with E35, YR24, YR20


A closer look at the boys hair:


Step 2 Color the girls hair using E25, E23, E21
A closer look at girls hair

Step 3 Color the boys pants using B97, B95, B93, B91

A closer look at the pants:


Step 4 Color the boys shirt using G28, G24, G21
A closer look at the shirt:

Step 5  Color the girls' dress using R85, R83, R81


Step 6 Color the shoes using C5 and E74


The finished colored image:


This is the final colored image. Hope you were able to follow the steps to color in Everyone needs a hug. Check out the STORE for some more great digital images and rubber stamps.


Tuesday, February 18, 2014

Copic Coloring With Little Blue Button Stamps

HI Everyone!!! Dawn here to show  you the steps I took to color the image Jessica Smarty using Copics.  I color from dark to light and use a flicking technique.


Step 1 Color the skin using E11, E00, E000 and lips using R20


Step 2 Color the hair using E37, E35, E33, E31


Step 3 Color the dress using R85, R83, R81


Closer look at the colored image so far


Step 4 Color the shoes and purse using C7, C5, C3


A look at the finished colored image


This is the final colored image. Hope you were able to follow the steps to color in Jessica Smarty.
Don't forget to check out the STORE for some really great digital images and rubber stamps.


Monday, February 10, 2014

Copic Coloring with Little Blue Button Stamps

HI Everyone!!! Dawn here to show  you the steps I took to color the image Peace Charlie using Copics.  I color from dark to light and use a flicking technique.


Step 1 color the skin using E11, E00, E000


Step 2 Color the hair using E37. E35, E33, E31


closer peek at the hair


Step 3 Color the Dress using V28, V22, V20


Step 4 Color the shoes using C3


Finished colored image

This is the final colored image. Hope you were able to follow the steps to color in Peace Charlie.


Wednesday, January 29, 2014

Copic Coloring With Little Blue Button Stamps

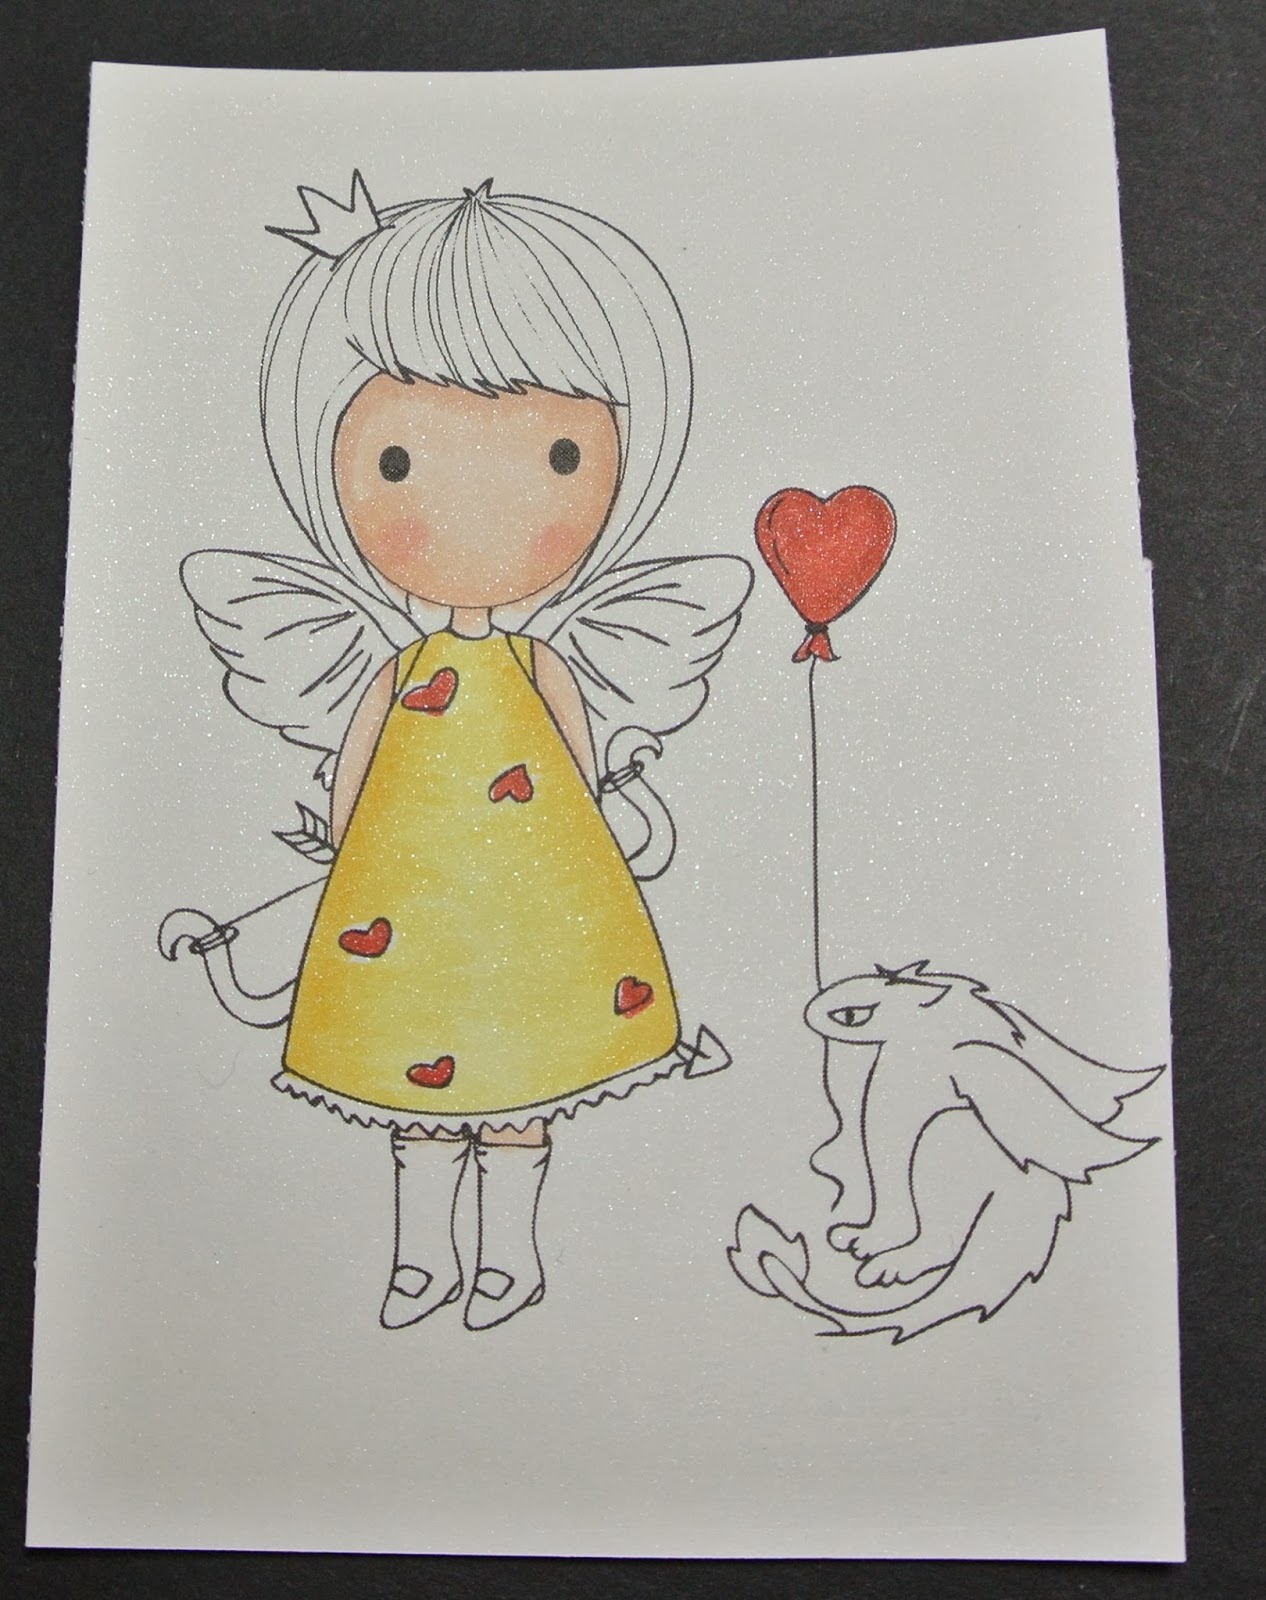
HI Everyone!!! Dawn here to show  you the steps I took to color the image Valentine Eris using Copics.  I color from dark to light and use a flicking technique.

Step 1: Using E11, E00, E000 and some R20 for the cheeks, color the skin.
Step 2: Color the dress using Y11, Y13, Y15, R24.
Step 3: Color the hair using E27, E25, E23, E21.
Step 4: Color the crown using Y13.
Step 5: Color the bow using E25.
Step 6: Color the wings using Y11 and BV11 using the feathering technique.
Step 7:Color the shoes using C5, C3, C1, C0.
Step 8: Color the dragon using C5, C3, C1 and I grounded my image by using W5, W3, W1.


This is the final colored image. Hope you were able to follow the steps to color in Valentine Eris.


Saturday, January 18, 2014

Copic Coloring With Little Blue Button Stamps

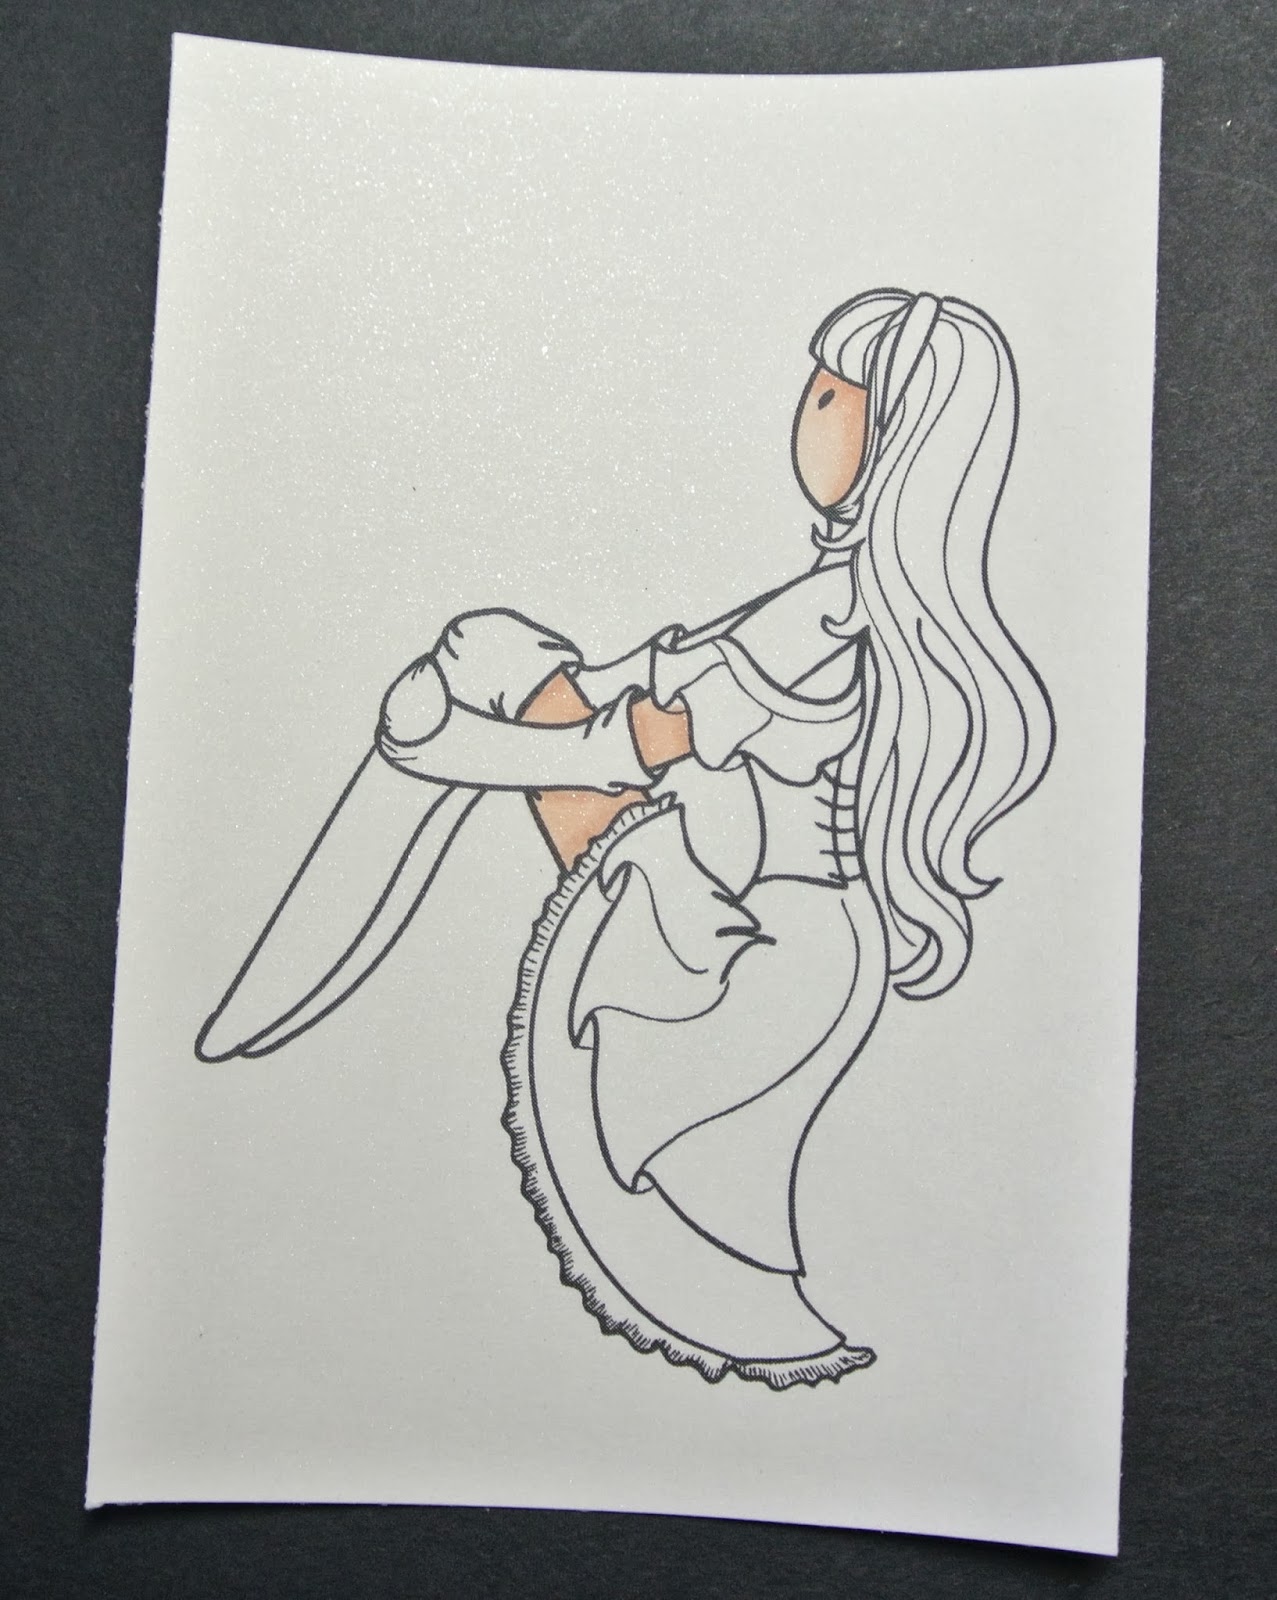
HI Everyone!!! Dawn here to show  you the steps I took to color the image Rag Doll Sweetheart  Stars Watching.  I color from dark to light and use a flicking technique.

Step 1:  Color the skin using E11, E00, E000. I also add some R20 for cheek color.
 Step 2: Color the dress using R81, R83, R81 and add some deeper shading using C3.
Step 3: Color the stockings using C3, C1, and blender pen.  I want this to look white, but I gave it some shadows to show depth.
Step 4: Color her hair using E37, E35, E33, E31
Step 5: I grounded my image by making her sitting on the ground. I used W5, W3, W1.


This is the final colored image. Hope you were able to follow the steps to color in RDS Star.


Friday, January 10, 2014

Copic Coloring with Little Blue Button Stamps

HI Everyone!!! Dawn here to show  you the steps I took to color the image Randy using Copics.  I color from dark to light and use a flicking technique.

Step 1:  Color the skin using E11, E00, E000. I put E11 where the shadows will be, then come in with E00 to blend out the E11 a little bit, then come in with E000 where the lightest part on the face is.
Step 2: Color in the jeans using B97, B95, B93, B91. I place B97 where I think the shadows will be. I then come in with B95 and blend with B97. Then I come in with B93 and once again blend and finally I come in with B91 where I think is going to be the lightest.
Step 3: Color in the hair and shoes using E37, E35, E33, E31 and the shirt using G28, G24, G21. I use the same technique from dark to light as described above.

 Step 4: Color in the scarf using R27, R24, R22

Step 5: Color in the roses using YG67, YG63, R27, R24, R22, R85, R83, R81


This is the final colored image. Hope you were able to follow the steps to color in Randy.