KLM Digital Designs has some really adorable images and if you haven't checked them out you really should. They have both digital images and Photopolymer stamps.
Thanks for stopping by,
KLM Digital Designs has some really adorable images and if you haven't checked them out you really should. They have both digital images and Photopolymer stamps.
Thanks for stopping by,
KLM Digital Designs has some really adorable images and if you haven't checked them out you really should. They have both digital images and Photopolymer stamps.
Thanks for stopping by,
I learned that The Greeting Farm is having a DT call. I decided to give it a shot. I really love their stamps and images. I made 3 cards for the Stamp DT call. Hope you enjoy what I have made.....
This card uses the stamp set Mini Remix Balloons:
I made a Joy Fold card. I stamped the images onto some cryogen card stock and used my Scan N Cut to cut them out. I colored them with Copics. I used the instructions found HERE to make the Joy Fold card. I added some ribbon across the card front and a bow. I then added the images.....
The second card also used the stamp set Mini Remix Balloons:
KLM Digital Designs has some really adorable images and if you haven't checked them out you really should. They have both digital images and Photopolymer stamps.
Thanks for stopping by,
We have a new Challenge at Scrapping4funChallenges.
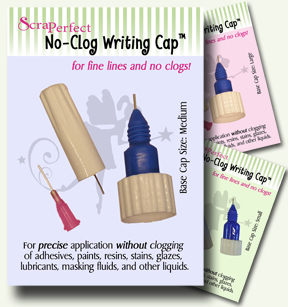
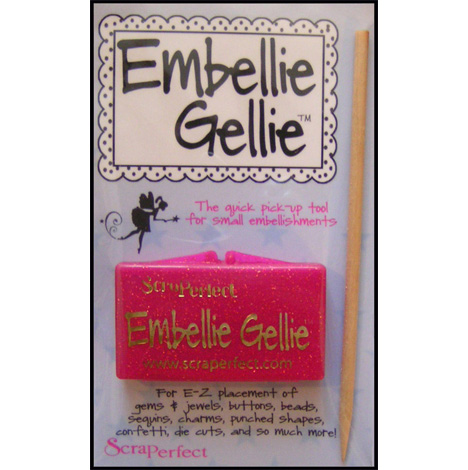
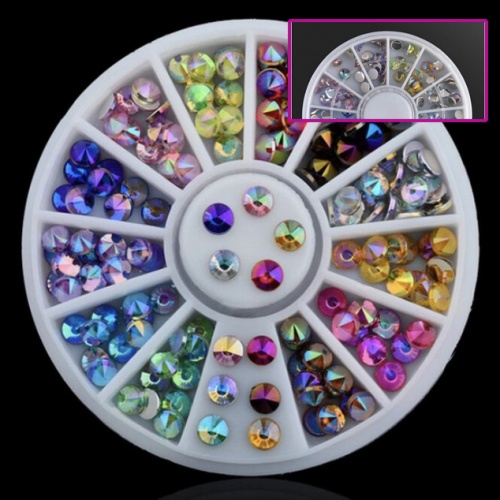
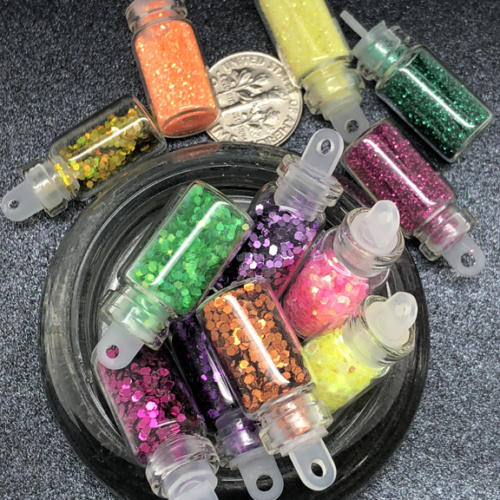
Hello fellow crafters!! I'm here with you today, and the Holiday Card I made is pretty simple! I love working with the Best Glue Ever , Wheels of Embellies , the Embellie Gellie , Tiny Bottles of Embellies and the No Clog Writing cap. If you haven't tried them, you are missing out on some awesome products.
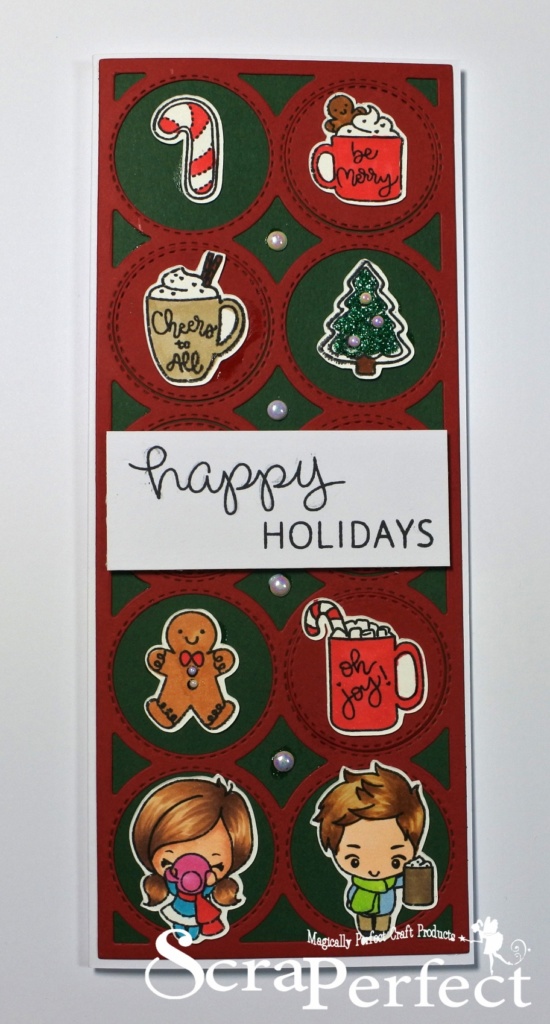
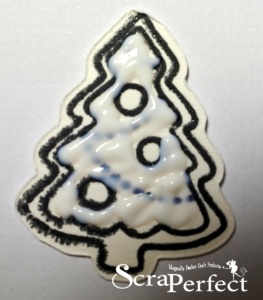
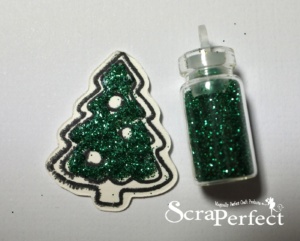
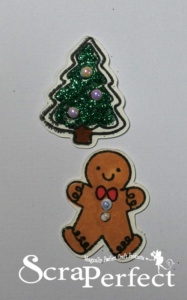
The first thing I did was to add some green glitter to the tree cut out. I added some of the Best Glue Ever to the tree. Then I sprinkled some tiny bottles of Embellies green glitter on top of the glue while it was still wet.
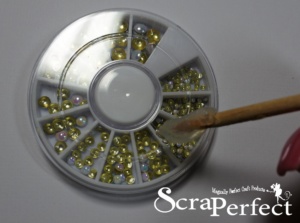
I colored the rest of the cut outs and decided to add some Wheels of Embellies opal drops to the tree and the gingerbread man. I used the Embellie Gellie to pick up the Opal drops and place them where I wanted them.
For the next step, I took some of the BGE and put it on the back of the red cut out and placed it onto the green cut out. Using BGE on the back of the green cutout, I put it onto the card front. I then assembled the card the way I wanted it using the BGE.
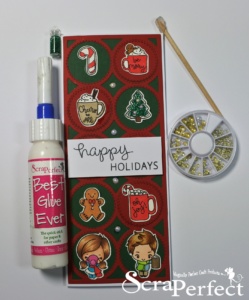
That's it for today - until next time. Happy Crafting with ScraPerfect!!

KLM Digital Designs has some really adorable images and if you haven't checked them out you really should. They have both digital images and Photopolymer stamps.
Hi Everyone,
I'm super excited to be sharing with you my Autumn card. I used a few images from the Autumn/Fall digital stamps collection from Polkadoodles. I also used some digital papers from Halloween/Autumn Paper Heaven 1 and 2.
Friday has arrived! And so has a new Outlawz Festive Friday's Challenge. Here is my DT card using an image by Beccy's Place, our sponsor this month. Our themes this week are Fantasy, Monochrome, Christmas, Anything Goes!!!
Hello Crafty friends,
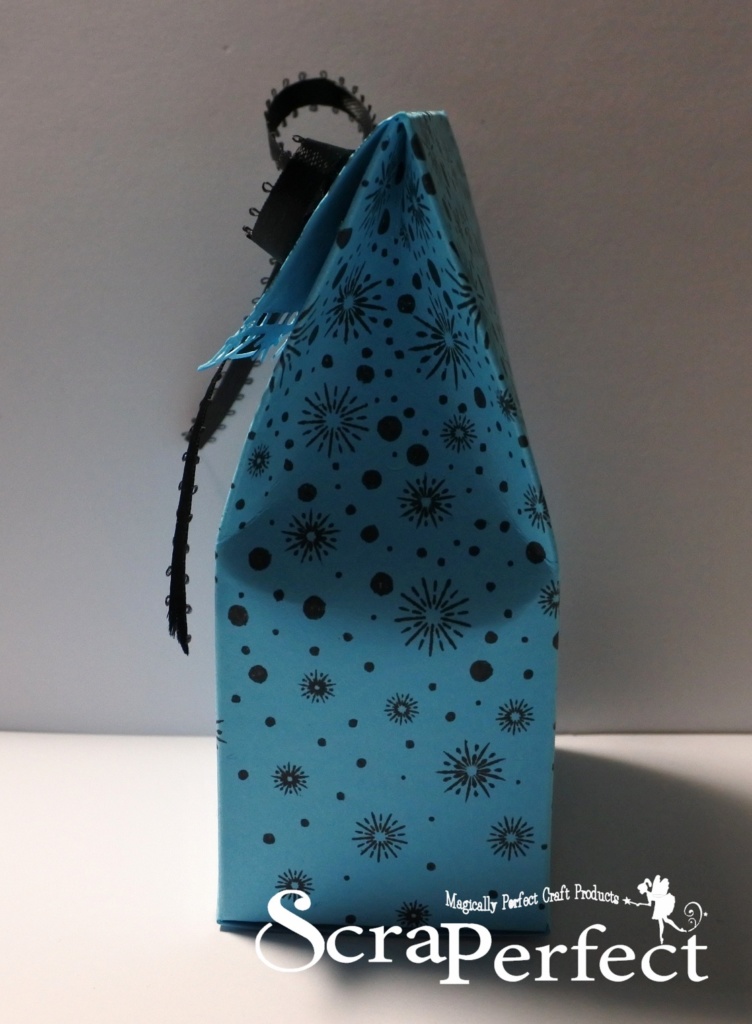
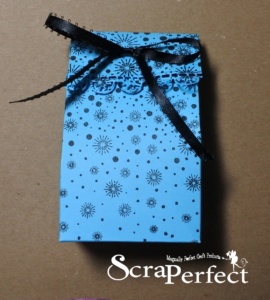
Hello fellow crafters!! Dawn here with you today, and the Party Favor Box I made is pretty simple! I love working with the Best Glue Ever and the No Clog Writing cap. If you haven't tried them, you are missing out on some awesome products.
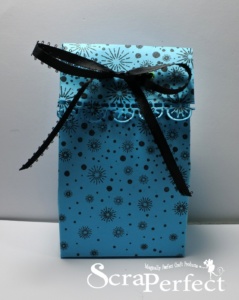
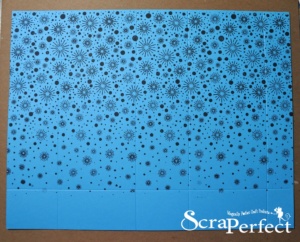
You start with a 8 1/2 x 11 sheet of card stock. You can use a piece that already has a design on it, or like I did, used a solid color and stamped the design onto it. You will want to score your card stock lengthwise at 2", 5", 7", 10". Then you want to turn your card stock to the short side and score at 2" and 7". It's a little hard to see the score lines in the photo.
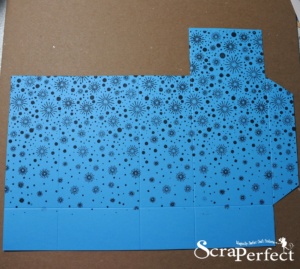
Next you will want to cut off a few sections of the card stock as shown in the photo:
Using some decorative scissors or a punch, create a scalloped edge on the 2" flap. Apply some of the Best Glue Ever with No Clog Writing cap to the side tab and carefully put the box together.
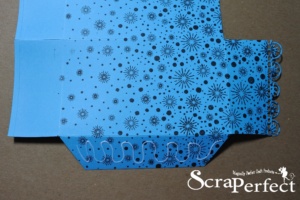
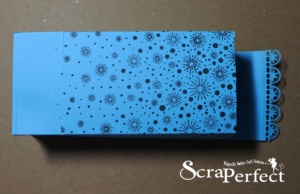
Fold in the flaps on the bottom, and using some Best Glue Ever with No Clog Writing cap glue them together.
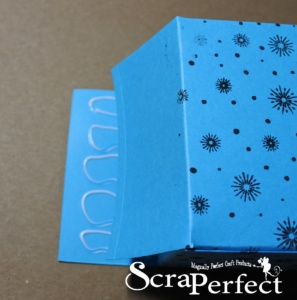
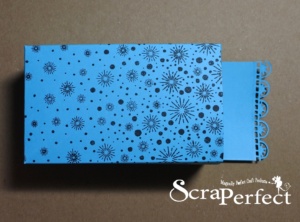
Align the front of the box up with the back and pinch them together. Punch 2 holes in the flap and the box front. Thread some ribbon through the holes and tie to close the box. You can decorate the box as you wish. I left mine with just the stamped images on it.
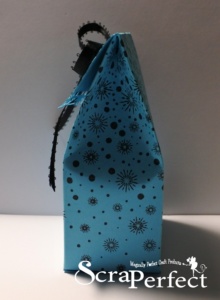
That's it for today - until next time. Happy Crafting with ScraPerfect!!


